skip to main |
skip to sidebar
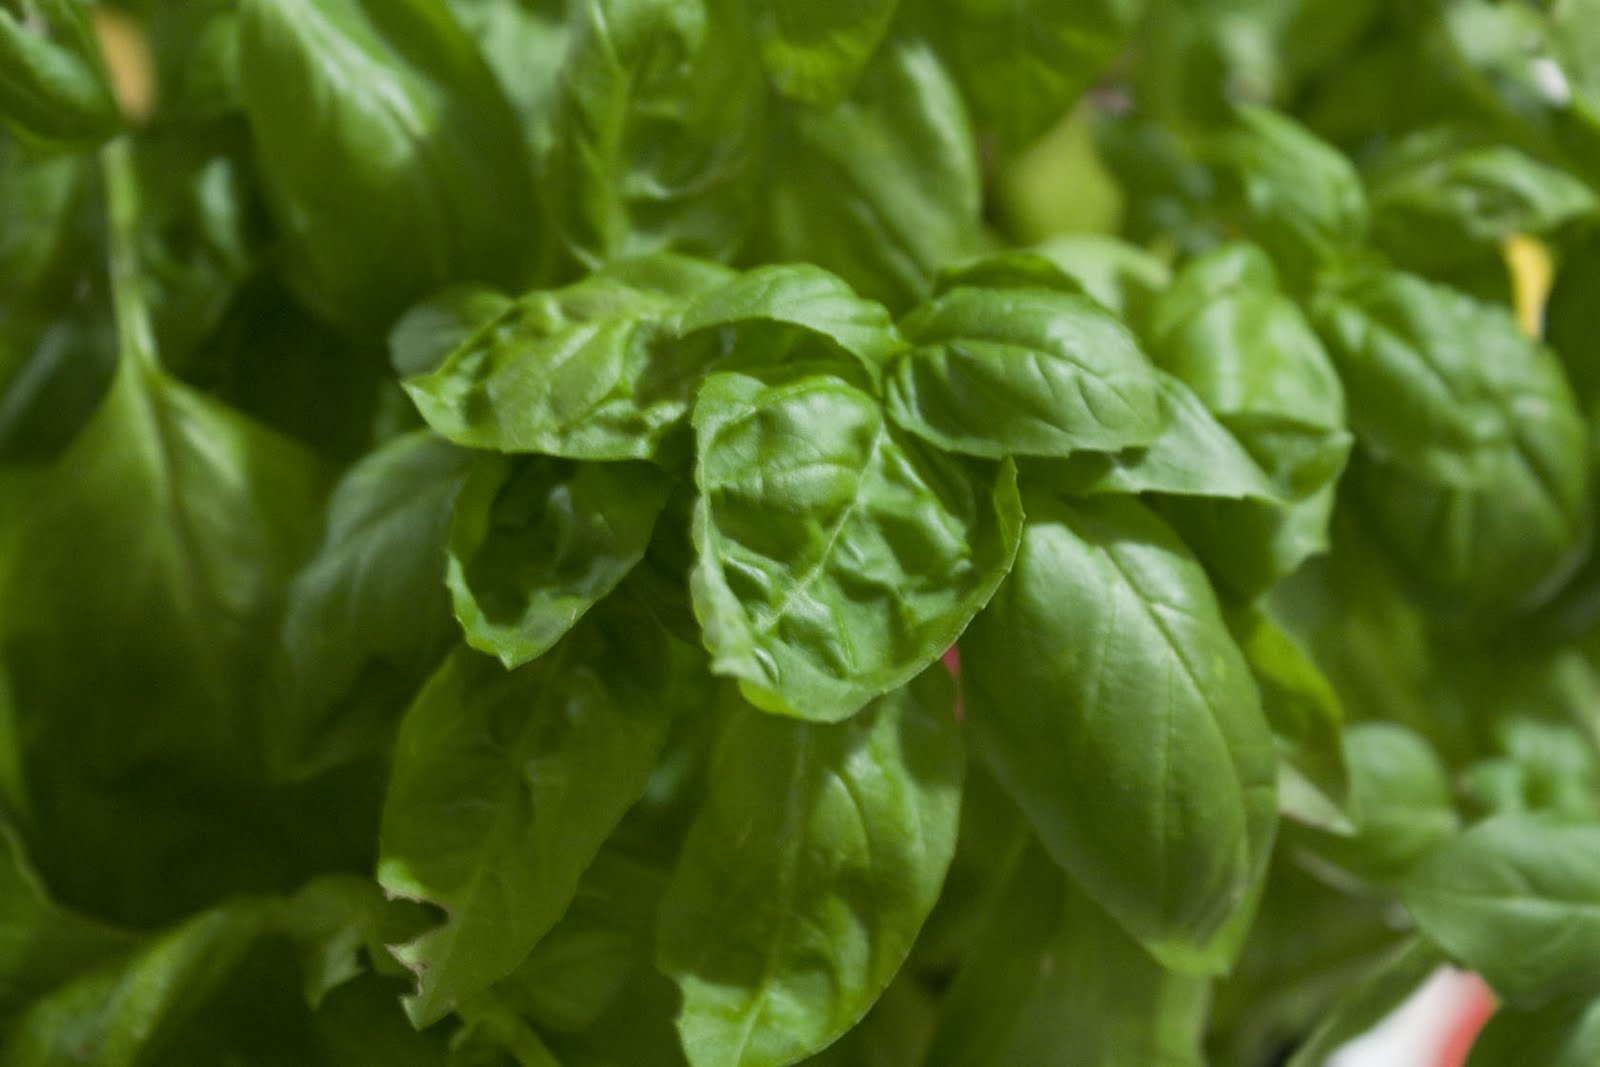
I have been assembling a lot of Ikea furniture for the new apartment. There is only the “right” way to do this. If you have any pieces left at the end you are in trouble. Bread salad has no right or wrong way and no real recipe necessary. It goes together easily, uses up stale bread and bursts with the great tastes of August tomatoes and basil. Home grown tomatoes are key to this salad but if you want to make it in the winter plum tomatoes or cherry tomatoes will do.
Cut a loaf of day old good bread into bite sized cubes. Toss into a bowl. Cut up homegrown tomatoes or the best ones from the farmer’s market into similar sized cubes. Toss in. Cut one ball of fresh mozzarella into cubes. Toss in bowl. Chop or chiffonade some fresh basil. (here is how to chiffonade) Toss in.
At this point you declare it ready or add some cucumber, red onion, or any fresh ingredients you love in a salad. To dress just splash with red wine vinegar, drizzle with a little good quality olive oil. Season generously with salt and pepper. Serve immediately if you like your bread a little chewy or wait an hour for it to soak up all the tomato juices. I like it both ways. I have also used fresh bread but I make sure it is a chewy dense bread like a ciabatta, a bread too pillowy and soft will dissolve.
No worries with this salad. The only real requirements are good tomatoes and good bread and basil. No serious instructions required. But whatever you do don't do this:
I bought a couple of bunches of beets at the farmer’s market last weekend. I love the vibrant red color, the earthy taste and the smoothness of the beet texture. I usually slice them in a salad of field greens and walnuts or drizzle with balsamic but I wanted to do a recipe using the whole beet, including the greens. I decided on beet risotto.
I cooked the beets in the pressure cooker after slicing off the tops and setting them aside. I put a cup of water and the beets into the pressure cooker, slicing the larger ones in half and cooked for 15 minutes at pressure then released immediately. They came out perfect. I normally roast them drizzled in olive oil and wrapped in foil but I did not want to heat up the kitchen. I peeled them under running water and sliced into small cubes and set them aside.
While the beets were cooking I soaked the greens in several changes of water in the sink to get rid of all the dirt and grit. I then shook them dry and sliced the stem off each leaf, putting the stems in their own pile. When I had all the stems separated from the beets I chopped the stems into small pieces and then sliced the leaves into narrow slices, still keeping the piles separate.
After I finished working on the greens, I heated a large non-stick pan spraying it with olive oil spray and added the stems only. I sautéed the stems for a few minutes until they were tender. I then added the sliced leaves and some raw garlic and just cooked until the leaves were wilted, stirring occasionally. I finished off with a splash of balsamic and let the balsamic cook off till no longer visible. I set the pan aside.
Cooking the beets and the greens can be done earlier in the day. If you refrigerated them let them come to room temp so they aren’t too cold when added to the risotto.
To make the risotto I set a pan of 4-6 cups of chicken broth to simmer on a back burner. I heated up my medium stockpot on the front burner and dropped in a tablespoon or so of butter and a little olive oil to keep the butter from burning. I cooked half a chopped yellow onion in the stockpot until it was tender, stirring occasionally.
I poured in one cup of Arborio rice and stirring watched until the rice kernels became translucent with a bright white inner core and a toasty aroma arose from the pan. I splashed in some white wine, enough to get every grain a little wet and cooked that off, stirring the whole time, until no liquid remained.
Now is was time for continually adding broth. I add a ½ cup or so of broth to the rice from the back burner, stirring continually, scraping the bottom. There should be enough liquid after each addition so that the rice look a little soupy but not drowning in liquid. I kept stirring until the broth was absorbed. I repeated this adding broth and stirring for about 20 minutes. Every now and then I would stop to rinse some lettuce for a salad or slice a carrot, keeping a vigilant eye on the risotto. You don’t really have to stir it non-stop. Just don’t take a bathroom break or walk out to the mailbox.
I continued adding broth until the kernels of rice just start to get tender but still have a little chew in them. I added the beet greens and beets then removed the pot from the heat so the residual heat would warm them. I stirred in a heaping tablespoon of mascarpone and a generous handful of parmesan. Normally I would add a ton of butter and cheese but I was trying to make a healthier version. I heaped it in my risotto bowIs and sprinkled with toasted walnuts before serving. It added a great crunch to the creamy risotto. The beautiful color did not disappoint and I felt like I was eating something pretty healthy and pretty tasty!